I’m sure most of the readers experienced the not really welcome sight of a dead hard drive. In some cases the disks fail quite suddenly, without any prior warning, but fortunately, in many other cases drives do not leave the realm of usefulness without first showing some signs of trouble. My 2.5” WD Blue drive was from the latter group, so I had time to prepare (mostly) well for the inevitable failure. The signs were pretty obvious in my case, as the drive simply failed to start up at random system boots, and the frequency of such failures rose with each week. To cut a long story short, I migrated onto an SSD before the hard disk died completely (or so I thought), and the only thing was left to do is to destroy all data left on this drive.
Usually it is a simple matter, as one only needs to initiate at least one of several available disk erase tools. I, personally like to use the tools found on Parted Magic, a really outstanding system rescue disk, but in this case this was not an option any more. Despite the fact that I could make the disk work several times after the migration, it did not want to start any more, so the only option left to me (the most reliable of all) was physical destruction of data. The photo gallery below shows the exact step-by-step process of such a procedure, and in my opinion, any additional comments on the subject would completely be unnecessary, as the images are pretty self-explanatory. Enjoy.
 Remove torcs screws and stickers
 Remove previously hidden torcs screws
 Remove final hidden screw
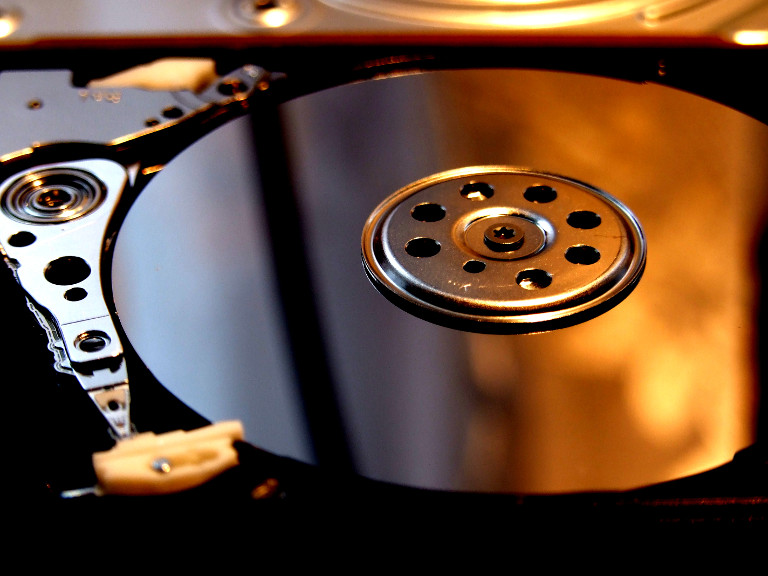
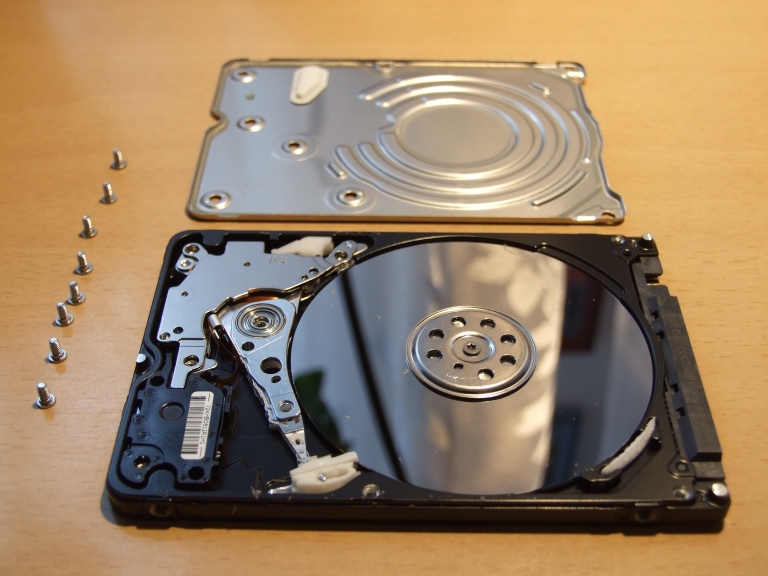 Cover finally removed
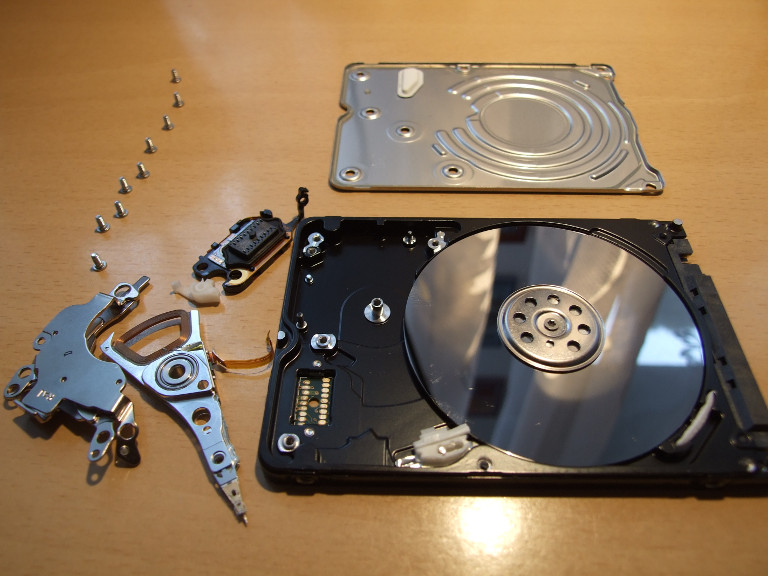 Remove read-write heads and corresponding positioning mechanism
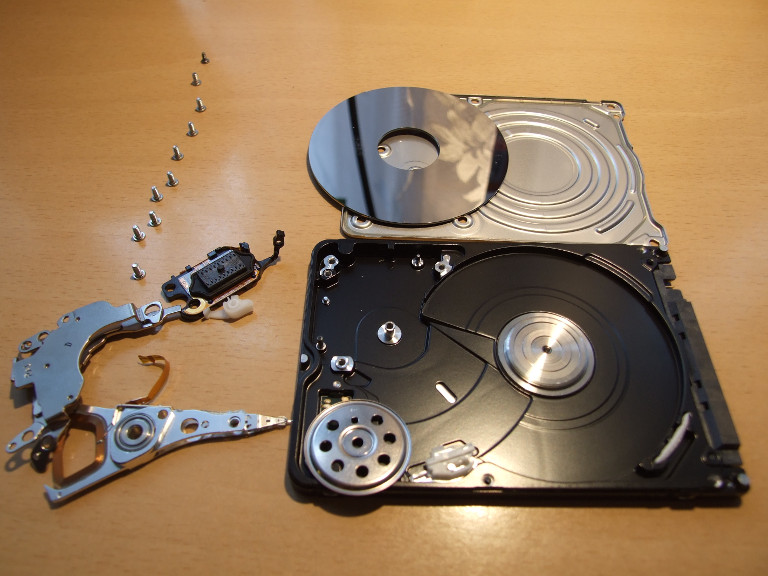 Remove disks from spindle
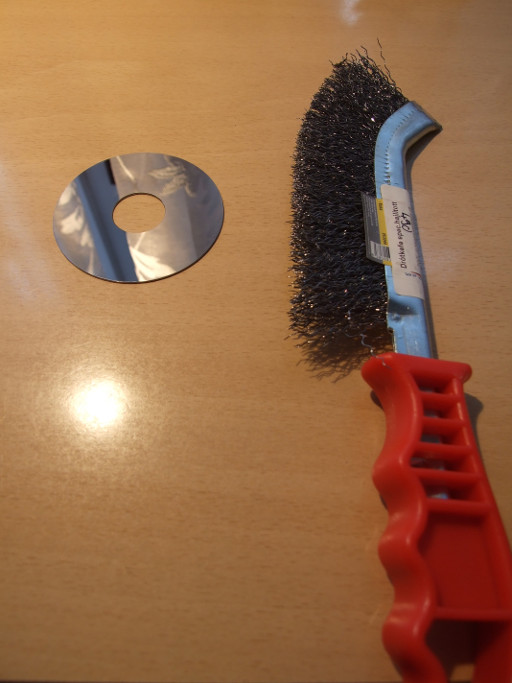 Apply the “data removal tool”
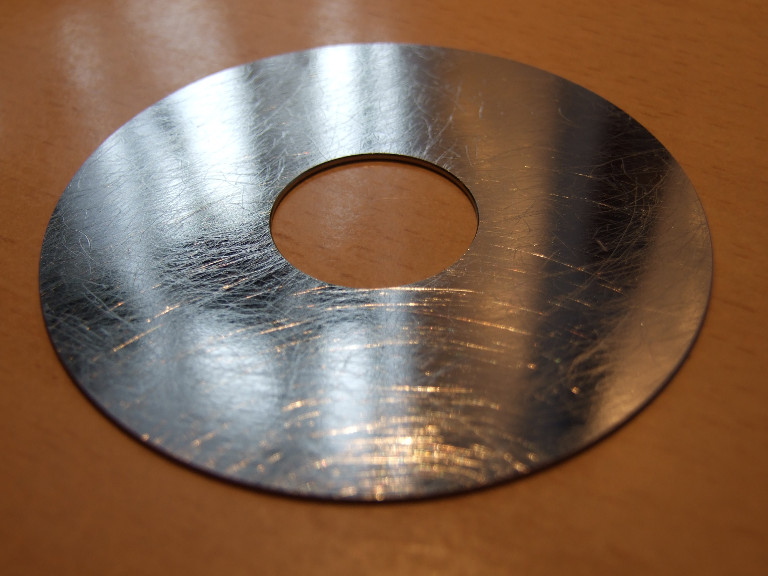 Secure erase successfully completed